Why Add Photo Effects to Your PHP App?
Photo effects and image transformation are features users love — but building them from scratch requires GPU infrastructure, ML models, and significant engineering time. The mypiceffects.com REST API lets you add 100+ creative photo effects and video animations to any PHP application with a single POST request. No infrastructure to manage, no models to train, and a generous free tier to build on.What You Can Build
- Photo editing tools and filters for your web app
- Profile picture generators with artistic effects
- Social media content creation tools
- E-commerce product photo enhancement
- Avatar and digital art generators
- PHP 7.4 or higher
- cURL extension enabled (standard on most servers)
- A free mypiceffects.com API key (register at mypiceffects.com/register)
- 1 credit = 1 photo effect (image)
- 2 credits = 1 video animation (MP4)
- 50 free credits on signup
- 10 free credits to redeem every day
- Paid plans from $5 for 500 credits
Prerequisites
Step 1 — Get Your API Key
Register at mypiceffects.com/register. Your API key is auto-generated — find it on your dashboard under the 🔑 API Key card. Click Copy to copy it.Step 2 — Get an Effect ID
Visit mypiceffects.com/effects and browse the library. Click any effect card — the Effect ID appears in the upload panel on the right. Copy the number (e.g.21998390 for Oil Painting).
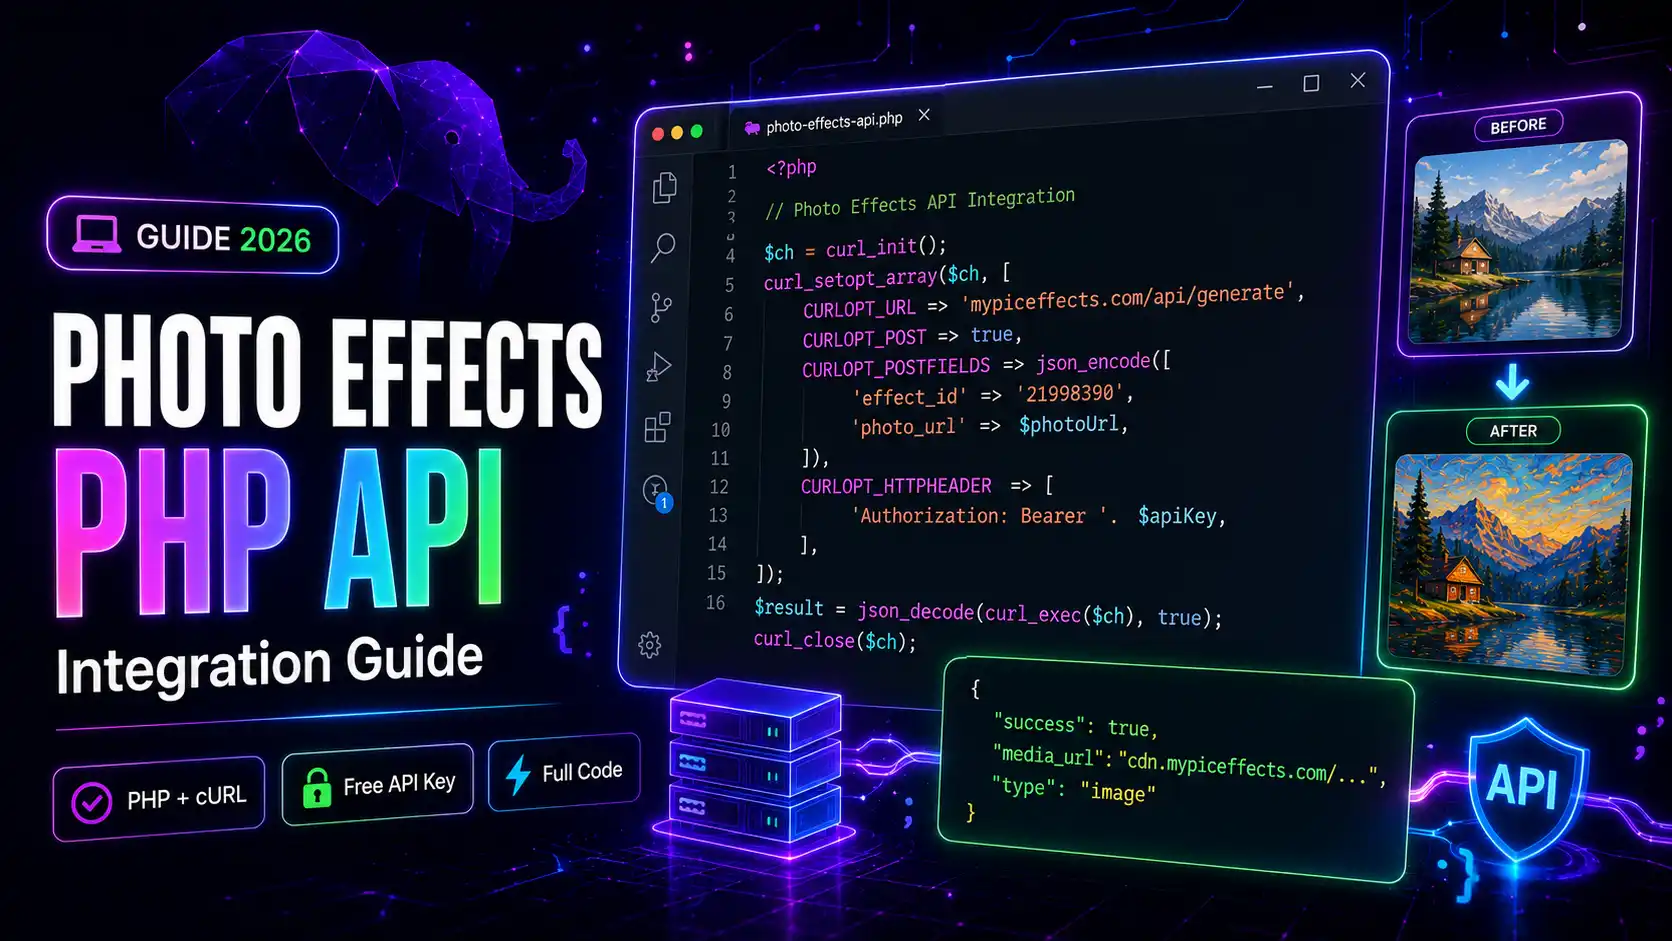
Step 3 — Basic PHP Integration (photo_url method)
The simplest approach — pass a publicly accessible URL of the photo:`
<?php
function applyPhotoEffect(string $photoUrl, string $effectId, string $apiKey): array
{
$ch = curl_init();
curl_setopt_array($ch, [
CURLOPT_URL => "https://mypiceffects.com/api/generate",
CURLOPT_RETURNTRANSFER => true,
CURLOPT_POST => true,
CURLOPT_POSTFIELDS => json_encode([
"effect_id" => $effectId,
"photo_url" => $photoUrl,
]),
CURLOPT_HTTPHEADER => [
"Authorization: Bearer " . $apiKey,
"Content-Type: application/json",
],
CURLOPT_TIMEOUT => 30,
]);
$response = curl_exec($ch);
$httpCode = curl_getinfo($ch, CURLINFO_HTTP_CODE);
curl_close($ch);
if ($response === false) {
return ["success" => false, "reason" => "cURL error"];
}
$data = json_decode($response, true);
if ($httpCode !== 200 || !$data) {
return ["success" => false, "reason" => "API error " . $httpCode];
}
return $data;
}
// Usage example
$apiKey = "YOUR_API_KEY";
$effectId = "21998390"; // Oil Painting
$photoUrl = "https://yoursite.com/uploads/user-photo.jpg";
$result = applyPhotoEffect($photoUrl, $effectId, $apiKey);
if ($result["success"]) {
echo "Media URL: " . $result["media_url"];
echo "Type: " . $result["type"]; // "image" or "video"
echo "Credits left: " . $result["credits_remaining"];
} else {
echo "Error: " . ($result["reason"] ?? "Unknown error");
}
`
Step 4 — File Upload Method (multipart)
If users upload photos directly to your PHP server, use file upload instead of photo_url:`
<?php
function applyPhotoEffectFile(string $filePath, string $effectId, string $apiKey): array
{
$ch = curl_init();
// Use CURLFile — do NOT set Content-Type manually
$postFields = [
"effect_id" => $effectId,
"photo" => new CURLFile($filePath, mime_content_type($filePath), basename($filePath)),
];
curl_setopt_array($ch, [
CURLOPT_URL => "https://mypiceffects.com/api/generate",
CURLOPT_RETURNTRANSFER => true,
CURLOPT_POST => true,
CURLOPT_POSTFIELDS => $postFields,
CURLOPT_HTTPHEADER => [
"Authorization: Bearer " . $apiKey,
// No Content-Type header — cURL sets multipart boundary automatically
],
CURLOPT_TIMEOUT => 60,
]);
$response = curl_exec($ch);
curl_close($ch);
return json_decode($response, true) ?? ["success" => false, "reason" => "Parse error"];
}
// Usage: process a user-uploaded file
if ($_FILES["photo"]["error"] === UPLOAD_ERR_OK) {
$tmpPath = $_FILES["photo"]["tmp_name"];
$result = applyPhotoEffectFile($tmpPath, "21998390", "YOUR_API_KEY");
if ($result["success"]) {
// Store or display the result URL
$outputUrl = $result["media_url"];
$type = $result["type"]; // "image" or "video"
}
}
`
Step 5 — Check Credits
Check your remaining credits before processing to handle low-credit scenarios gracefully:`
<?php
function getCredits(string $apiKey): int
{
$ch = curl_init("https://mypiceffects.com/api/credits");
curl_setopt_array($ch, [
CURLOPT_RETURNTRANSFER => true,
CURLOPT_HTTPHEADER => ["Authorization: Bearer " . $apiKey],
CURLOPT_TIMEOUT => 10,
]);
$response = curl_exec($ch);
curl_close($ch);
$data = json_decode($response, true);
return $data["credits"] ?? 0;
}
// Usage
$credits = getCredits("YOUR_API_KEY");
if ($credits < 1) {
echo "No credits remaining. Visit mypiceffects.com/pricing to top up.";
exit;
}
`
Step 6 — Handle the Response (Image vs Video)
The API returns either an image or video depending on the effect chosen:`
<?php
$result = applyPhotoEffect($photoUrl, $effectId, $apiKey);
if ($result["success"]) {
$mediaUrl = $result["media_url"];
if ($result["type"] === "video") {
// Display as video
echo '<video src="' . htmlspecialchars($mediaUrl) . '" controls autoplay loop muted></video>';
} else {
// Display as image
echo '<img src="' . htmlspecialchars($mediaUrl) . '" alt="Photo effect result">';
}
// Optionally download and cache the result on your server
$content = file_get_contents($mediaUrl);
$ext = $result["type"] === "video" ? "mp4" : "jpg";
$filename = "results/" . uniqid() . "." . $ext;
file_put_contents($filename, $content);
}
`
API Pricing
Try It Free on mypiceffects.com
Get your free API key at mypiceffects.com/register — 50 credits to start integrating immediately. Full documentation, error codes, and more code examples are at mypiceffects.com/docs.Try It Yourself — Free!
Apply 100+ creative photo effects and video animations online. 50 free credits on signup + 10 free credits every day.